Speed of Light Motorcycle Photography
Focused View
Tim Wallace
1:46:18
76 View
001 LESSON 1 Introduction.mp4
04:11
002 LESSON 2 Lighting.mp4
08:42
003 LESSON 3 Positioning the Motorcycle.mp4
03:23
004 LESSON 4 Setting up the First Light.mp4
09:29
005 LESSON 5 Adding Lights in Pairs.mp4
07:48
006 LESSON 6 Illuminating the Back of the Bike.mp4
09:39
007 LESSON 7 Extra Shots.mp4
11:58
008 LESSON 8 Reviewing the Shots.mp4
11:51
009 LESSON 9 Dodging and Burning.mp4
11:56
010 LESSON 10 Extraction.mp4
15:06
011 LESSON 11 Adding a New Background.mp4
12:15
Description
- Join Tim as he introduces the motorcycle that will be used in this class and discusses the topics that will be covered, before giving a walk through of the special studio setup he'll be using.
- Tim discusses the lights that will be used for this shoot and some tips for dealing with reflections.
- You want to get the positioning correct before you start lighting the subject.
- This first light is likely to be the only one that will sit on its own, while the rest will all be positioned symmetrically in pairs. Part of setting up this first light will be dialing in the camera settings that he will use.
- For this effect we want to position the lights on both sides of the bike in a symmetrical fashion that follow the angle of the motorcycle.
- As each light is added it builds up the overall lighting effect. As each light is added you need to be careful to avoid contaminating the other lighting areas. Once all the lights are set, Tim takes the primary shot he's after.
- With the primary shot completed, Tim takes some time to see what other shots he can take while everything is still set up.
- With the shoot done, Tim uses Bridge to review all of the shots captured and makes his selects. From there it is a jump into Adobe Camera Raw to begin processing.
- Bringing down the shadows and enhancing the highlights using different dodging and burning techniques is the next step in the process.
- Tim demonstrates how he removes a subject from the background before moving on to processing one of the extra shots he captured.
- Creating the final look involves compositing in a new background and blending the motorcycle into it.
More details
User Reviews
Rating
average 0
Focused display
Category
Tim Wallace
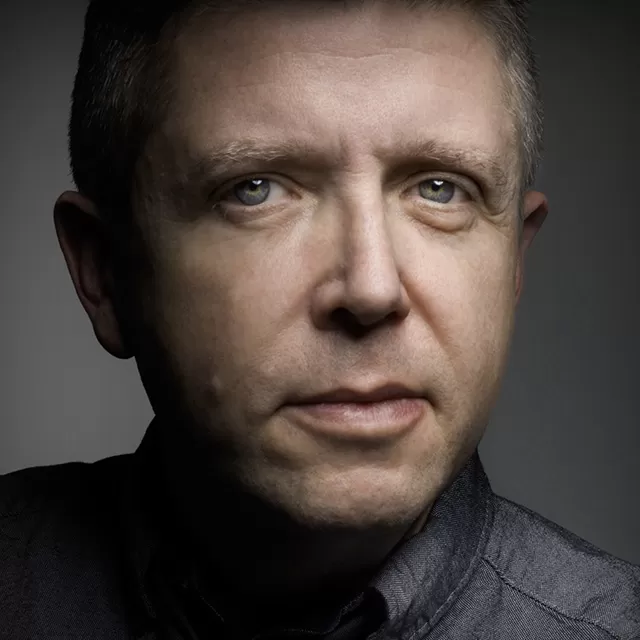
Instructor's CoursesTim Wallace is a commercial advertising photographer based in England. He works with many high-end clients such as Jaguar, Land Rover, Mercedes, Lamborghini, Aston Martin, Ferrari, Chevrolet, and Mustang. He is able to capture the beauty of the car along with its personality and soul. Tim has won awards such as British Commercial Photographer of the Year and UK Motor Industry Photographer of the Year.

KelbyOne
View courses KelbyOne"KelbyOne is an educational membership community designed to fuel your creativity. We are driven by a passion to provide incredible training for Photoshop, Lightroom and Photography made affordable for everyone. Offering subscriptions to our community for members at every stage of their journey, We empower people through affordable education to create beautiful, fascinating, wonderful things. We make our member's lives better by teaching them how to be happier and more successful doing the things they truly care about. Our goal is to help them in their journey of personal growth with their photography, Photoshop and Lightroom skills."
- language english
- Training sessions 11
- duration 1:46:18
- Release Date 2023/09/04


