From Photo to Realistic 3d model in Blender, step-by-step
Sime Bugarija
2:35:20
Description
Explained how to create realistic scene in Blender
What You'll Learn?
- I will introduce you to the free 3d program Blender
- I will introduce you to modeling, texturing, lighting, rendering and more
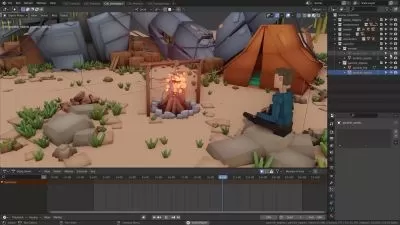
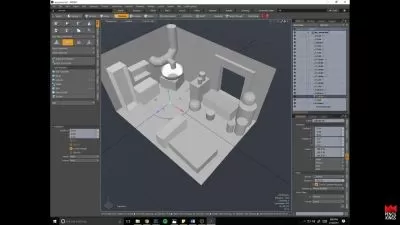
- We will create a small shop scene from the intro video from start to finish
- I'll show you the best way to quickly model and texture in Blender anything
Who is this for?
What You Need to Know?
More details
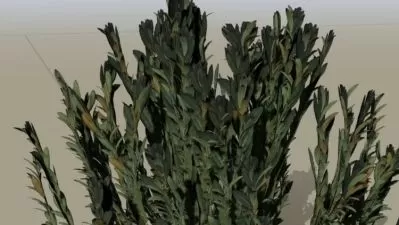
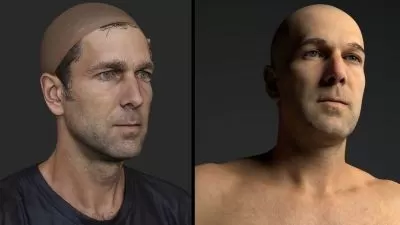
DescriptionOne of the most common tips for creating photorealistic scenes is to use high-quality PBR textures, which are mostly not free, but is this the best way? Using multiple textures photographed in different locations under different lighting conditions can result in a lot of work and an unrealistic result if the textures don't match well with each other.
In this tutorial, we will use a photo I took with my mobile phone on the street at a bad angle in collage with concrete texture, plus one free Photo from Unsplash for the interior and try to turn it into a realistic 3D object and scene. With these limited resources of only two photos, we will create this scene from start to finish in just 3 hours.
With this method, you can turn any photo into a realistic 3D model quickly and easily in Blender. We will talk about modeling, unwrapping, creating realistic materials, lighting, post-processing, and more. The entire process of creating scenes is recorded step by step, so the tutorial is easy to follow even for beginners. The tutorial is separated into 15 parts with an average duration of 12 minutes to make it easier to follow. This is the workflow that I have learned in the last 4 years of using Blender.
Language: English + subtitles
Who this course is for:
- For blender beginners as well as more advanced users.
One of the most common tips for creating photorealistic scenes is to use high-quality PBR textures, which are mostly not free, but is this the best way? Using multiple textures photographed in different locations under different lighting conditions can result in a lot of work and an unrealistic result if the textures don't match well with each other.
In this tutorial, we will use a photo I took with my mobile phone on the street at a bad angle in collage with concrete texture, plus one free Photo from Unsplash for the interior and try to turn it into a realistic 3D object and scene. With these limited resources of only two photos, we will create this scene from start to finish in just 3 hours.
With this method, you can turn any photo into a realistic 3D model quickly and easily in Blender. We will talk about modeling, unwrapping, creating realistic materials, lighting, post-processing, and more. The entire process of creating scenes is recorded step by step, so the tutorial is easy to follow even for beginners. The tutorial is separated into 15 parts with an average duration of 12 minutes to make it easier to follow. This is the workflow that I have learned in the last 4 years of using Blender.
Language: English + subtitles
Who this course is for:
- For blender beginners as well as more advanced users.
User Reviews
Rating

Sime Bugarija
Instructor's Courses
Udemy
View courses Udemy- language english
- Training sessions 16
- duration 2:35:20
- Release Date 2023/07/30