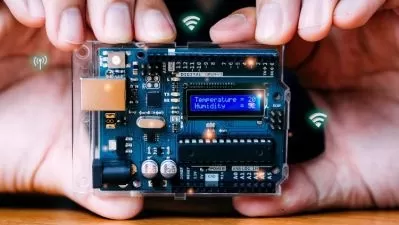
Arduino build your own Bionic Arm with voice recognition
Focused View
12:25:34
6 View
01-promotional video.mp4
01:04
02-course preview.mp4
05:37
03-install arduino coding software.mp4
05:32
04-forearm 3d parts and explanation.mp4
09:28
05-hatch door 3d parts and explanation and sources attached.mp4
02:59
06-hand 3d parts and explanation and sources attached.mp4
03:36
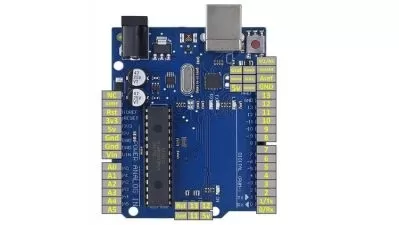
07-the electronic parts overview.mp4
07:13
08-electronic parts placement on the 3d models.mp4
05:46
09-connecting the arm first 3d parts together.mp4
03:44
10-uploading sounds to the sound card memory.mp4
11:02
11-connect the speakers to the sound card.mp4
17:47
12-connecting the sound card to the arduino part1.mp4
20:00
13-connecting the sound card to the arduino part2.mp4
22:55
14-load voice recognition programming software.mp4
06:56
15-how to connect the voice recognition to the ftdi (usb to serial) unit.mp4
07:17
16-how to record your commands to the voice recognition.mp4
05:09
17-connecting the voice recognition to the arduino.mp4
32:35
18-load the arduino with program that checks that voice recognition controls sounds.mp4
30:19
19-running a 360 degrees servo vs regular servo.mp4
11:18
20-connecting the rubber band minigun 3d parts with servo motor.mp4
32:14
21-connecting the rubber band minigun to the bionic arm 3d parts.mp4
05:57
22-connecting the back hatch regular servo to the 3d parts.mp4
16:10
23-connecting the side hatch regular servos to the 3d parts part1.mp4
20:00
24-connecting the side hatch regular servos to the 3d parts part2.mp4
23:30
25-connecting the wires of the 4 servos to the arduino part1.mp4
30:00
26-connecting the wires of the 4 servos to the arduino part2.mp4
31:01
27-upload to the arduino with program and check the hatch o.mp4
31:37
28-glue the servo motor to the bionic arm and to the hatch front cover.mp4
10:41
29-connecting the wires needed to the front servo and the laser.mp4
18:54
30-glue the two ky 008 lasersandwiring to arduino.mp4
14:57
31-program the arduino with code to check the servo motor and the lasers.mp4
10:50
32-gluing 6 leds on the hand part(note the polarity before gluing).mp4
19:46
33-connecting the leds together by the schematic.mp4
21:30
34-connect the leds to the mosfet rfp30n06le and 22ohm resistor part1.mp4
15:00
35-connect the leds to the mosfet rfp30n06le and 22ohm resistor part2.mp4
12:45
36-connect wires and glue the accelerometer mpu6050 to the hand 3d part.mp4
09:49
37-connect the fingers 3d parts and the glove to the hand 3d part part1.mp4
20:00
38-connect the fingers 3d parts and the glove to the hand 3d part part2.mp4
22:57
39-connecting the hand cover 3d part to the hand 3d part.mp4
09:24
40-connect wires from the mpu and the leds to the arduino.mp4
24:00
41-how to run the mpu6050.mp4
15:28
42-test that the mpu controls leds and the lasersandtheir servo motor.mp4
13:43
43-connect the batteries power sourceandthe 47uf capacitorandmicro switch.mp4
34:19
44-placing the arduino and the sound cardand the voice recognition module.mp4
14:00
45-glue the elbow 3d part and the speakers to the elbow.mp4
03:34
46-loading my sounds to the sound cardandrecording my commands to voice recognition.mp4
09:09
47-introduction to the full arduino code.mp4
32:10
48-uploading the code to the arduino.mp4
03:24
49-glue the arduino cover 3d part.mp4
02:20
50-test the arm and have fun with it.mp4
06:08
More details
User Reviews
Rating
average 0
Focused display

SkillShare
View courses SkillShareSkillshare is an online learning community based in the United States for people who want to learn from educational videos. The courses, which are not accredited, are only available through paid subscription.
- language english
- Training sessions 50
- duration 12:25:34
- Release Date 2024/03/06