[New] Java Full Stack: React and Spring Boot 3 [Expense App]
Bushan Sirgur
14:50:16
Description
Build a Powerful Expense Management App with Spring Boot, Spring Security, JPA, MySQL, React (Typescript) and Bootstrap
What You'll Learn?
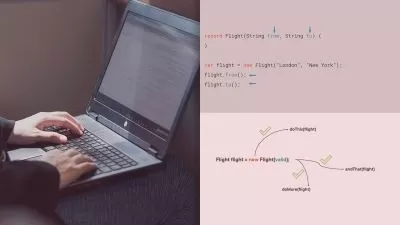
- API Development: Learn how to create RESTful APIs using Spring Boot
- React Essentials: Components, Props, States, Hooks etc
- Securing the REST APIs with the help of Spring Security
- Learn how to authenticate the API request with JWT token
- Learn How to connect Spring Boot Application to MySQL database.
- Learn How to deploy Spring Boot Application to Production Server
- Learn How to Consume the REST APIs in React
- Learn How to Create Custom Hooks in React
- Learn How to Create Form with Formik in React
- Learn How to Validate the Form with Yup in React
- Learn How to Create React Context and Share the State globally
Who is this for?
What You Need to Know?
More details
DescriptionWelcome to "Java Full Stack: React and Spring Boot 3 [Expense App]"! This comprehensive course is designed to take you from a beginner to an advanced level in full-stack development using Spring Boot and React. Whether you are an aspiring developer or an experienced programmer looking to enhance your skills, this course will provide you with the knowledge and hands-on experience needed to build robust and scalable web applications.
What You Will Learn:
Spring Boot Fundamentals: Understand the core concepts of Spring Boot, including dependency injection, Spring Boot starters, and Spring Boot Actuator.
React Essentials: Master the basics of React, including components, state, props, and the component lifecycle.
API Development: Learn how to create RESTful APIs using Spring Boot and connect them to your React frontend.
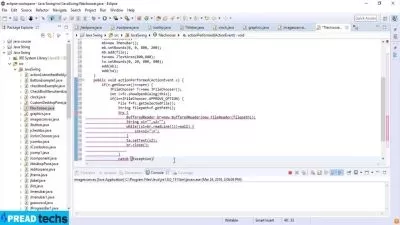
Database Integration: Implement CRUD operations with a MySQL database and use JPA/Hibernate for database interactions.
Real-Time Data Handling: Integrate WebSockets to handle real-time data updates in your application.
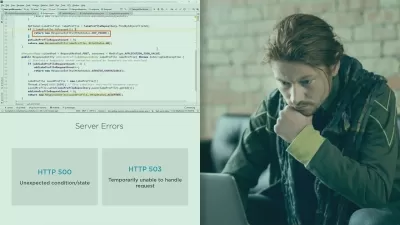
Authentication & Security: Implement secure authentication and authorization using Spring Security and JWT.
Expense Manager Project: Apply your knowledge to build a fully functional Expense Manager application, handling real-time expense tracking and reporting.
Course Highlights:
Hands-On Learning: Engage in practical exercises and projects that reinforce theoretical concepts.
Step-by-Step Guidance: Follow along with detailed, easy-to-understand instructions and explanations.
Source Code Access: Get full access to the source code for all projects and exercises.
Industry Best Practices: Learn to apply industry best practices for coding, testing, and deployment.
Community Support: Join a community of like-minded learners to collaborate and share knowledge.
Who Should Enroll:
Aspiring Developers: Those looking to start a career in web development.
Experienced Programmers: Developers seeking to enhance their full-stack development skills.
Tech Enthusiasts: Anyone interested in learning how to build real-world applications using modern technologies.
Prerequisites:
Basic Programming Knowledge: Familiarity with JavaScript and Java is recommended.
Development Environment: Access to a computer with internet connectivity.
Join Us:
Take the next step in your development career by enrolling in "Java Full Stack: React and Spring Boot 3 [Expense App]". Equip yourself with the skills needed to build sophisticated web applications and stand out in the competitive tech landscape. Enroll now and start your journey towards becoming a full-stack developer!
Who this course is for:
- Aspiring Developers: Those looking to start a career in web development.
- Experienced Programmers: Developers seeking to enhance their full-stack development skills.
- Tech Enthusiasts: Anyone interested in learning how to build real-world applications using modern technologies.
Welcome to "Java Full Stack: React and Spring Boot 3 [Expense App]"! This comprehensive course is designed to take you from a beginner to an advanced level in full-stack development using Spring Boot and React. Whether you are an aspiring developer or an experienced programmer looking to enhance your skills, this course will provide you with the knowledge and hands-on experience needed to build robust and scalable web applications.
What You Will Learn:
Spring Boot Fundamentals: Understand the core concepts of Spring Boot, including dependency injection, Spring Boot starters, and Spring Boot Actuator.
React Essentials: Master the basics of React, including components, state, props, and the component lifecycle.
API Development: Learn how to create RESTful APIs using Spring Boot and connect them to your React frontend.
Database Integration: Implement CRUD operations with a MySQL database and use JPA/Hibernate for database interactions.
Real-Time Data Handling: Integrate WebSockets to handle real-time data updates in your application.
Authentication & Security: Implement secure authentication and authorization using Spring Security and JWT.
Expense Manager Project: Apply your knowledge to build a fully functional Expense Manager application, handling real-time expense tracking and reporting.
Course Highlights:
Hands-On Learning: Engage in practical exercises and projects that reinforce theoretical concepts.
Step-by-Step Guidance: Follow along with detailed, easy-to-understand instructions and explanations.
Source Code Access: Get full access to the source code for all projects and exercises.
Industry Best Practices: Learn to apply industry best practices for coding, testing, and deployment.
Community Support: Join a community of like-minded learners to collaborate and share knowledge.
Who Should Enroll:
Aspiring Developers: Those looking to start a career in web development.
Experienced Programmers: Developers seeking to enhance their full-stack development skills.
Tech Enthusiasts: Anyone interested in learning how to build real-world applications using modern technologies.
Prerequisites:
Basic Programming Knowledge: Familiarity with JavaScript and Java is recommended.
Development Environment: Access to a computer with internet connectivity.
Join Us:
Take the next step in your development career by enrolling in "Java Full Stack: React and Spring Boot 3 [Expense App]". Equip yourself with the skills needed to build sophisticated web applications and stand out in the competitive tech landscape. Enroll now and start your journey towards becoming a full-stack developer!
Who this course is for:
- Aspiring Developers: Those looking to start a career in web development.
- Experienced Programmers: Developers seeking to enhance their full-stack development skills.
- Tech Enthusiasts: Anyone interested in learning how to build real-world applications using modern technologies.
User Reviews
Rating

Bushan Sirgur
Instructor's Courses
Udemy
View courses Udemy- language english
- Training sessions 271
- duration 14:50:16
- Release Date 2024/09/22